
Proper installation of hydraulic hose fittings, or hydraulic hose fittings, is essential for maintaining safety and optimizing system performance. Studies reveal that nearly 30% of hydraulic hose failures stem from improper sizing. Missteps during installation can lead to leaks, reduced efficiency, and costly operational issues. Even minor leaks, such as three drops of oil per minute, can result in nearly 9.35 gallons of oil loss annually, costing businesses over $160. Correct installation practices ensure leak-free connections and long-term reliability, protecting both equipment and personnel.
Key Takeaways
- Get the right tools, like wrenches and threadlockers, ready. This helps keep fittings tight and prevents leaks.
- Follow the S.T.A.M.P.E.D. method to pick the correct hose. This makes sure the hose and fittings work well together.
- Wear safety gear, like gloves and goggles, while working. This keeps you safe from dangers and makes the job safer.
Preparation for Installing Hydraulic Hose Fittings
Gather Essential Tools and Materials
Proper preparation begins with assembling the necessary tools and materials. Installers should have wrenches, spanners, and threadlockers readily available. These tools ensure fittings are tightened securely, minimizing the risk of leaks. O-rings and seals are equally important, as they provide a reliable barrier against fluid escape. For high-pressure systems, stainless steel fittings are recommended due to their superior pressure rating and durability. Safety equipment, such as gloves and goggles, is also essential to protect against potential hazards during installation.
Experts emphasize the importance of selecting tools that align with the system’s requirements. For instance, areas prone to vibration demand fittings with elastomeric seals to maintain a secure connection. Additionally, all components must be chemically compatible with the hydraulic fluid to prevent corrosion or material degradation.
Select the Right Hose and Fittings
Choosing the correct hose and fittings is critical for system performance. Installers should evaluate several factors, including media compatibility, working pressure, and abrasion resistance. For example, hoses must withstand the maximum pressure of the system while maintaining flexibility for proper routing.
The S.T.A.M.P.E.D. method—Size, Temperature, Application, Material/Media, Pressure, Ends, Delivery—serves as a reliable guideline for selecting components. This approach ensures that every aspect of the system’s requirements is addressed. Fittings should match the hose size and thread type while exceeding the system’s pressure rating for added safety.
| Criteria | Description |
|---|---|
| Media Compatibility | Ensure the hose material is compatible with the fluid being transported. |
| Working Pressure | Select hoses that can withstand the maximum pressure of the system. |
| Abrasion Resistance | Choose hoses that can resist wear and tear in harsh environments. |
| Flexibility and Bending | Consider the hose’s flexibility and minimum bending radius for installation. |
| Application Standards | Adhere to any specific certifications or standards relevant to the application. |
Use Proper Safety Equipment
Safety should never be overlooked when installing Hydraulic hose fitting. Installers must wear gloves to protect their hands from sharp edges and hydraulic fluid exposure. Goggles are equally important, as they shield the eyes from potential splashes or debris. In high-pressure systems, even minor leaks can pose significant risks, making safety precautions essential.
Workspaces should also be well-lit and free from clutter to reduce the likelihood of accidents. By prioritizing safety, installers not only protect themselves but also ensure the integrity of the hydraulic system.
Assemble Hoses and Hydraulic Hose Fittings
Measure and Cut the Hose Accurately
Accurate measurement and cutting are critical steps in assembling hydraulic hoses. Installers must measure the hose length carefully, accounting for the required flexibility and routing. Using a caliper or measuring tape ensures precision. Cutting the hose with a specialized cutting tool prevents frayed edges, which could compromise the connection.
To maintain cleanliness, installers should use an Ultra Clean nozzle and projectiles to remove any debris from the hose interior. This step minimizes the risk of contamination, which can lead to system inefficiencies or failures. Properly cut hoses not only fit securely but also enhance the overall performance of the hydraulic system.
Mark the Insertion Depth
Marking the insertion depth ensures that the fitting is installed correctly. Installers should use a paint pen to draw a clear mark on the hose at the specified depth. This mark serves as a visual guide during the assembly process, helping to confirm that the fitting is fully seated.
Failure to mark the insertion depth can result in improper fitting installation, leading to leaks or disconnections under pressure. By taking this simple yet essential step, installers can avoid costly errors and ensure the integrity of the connection.
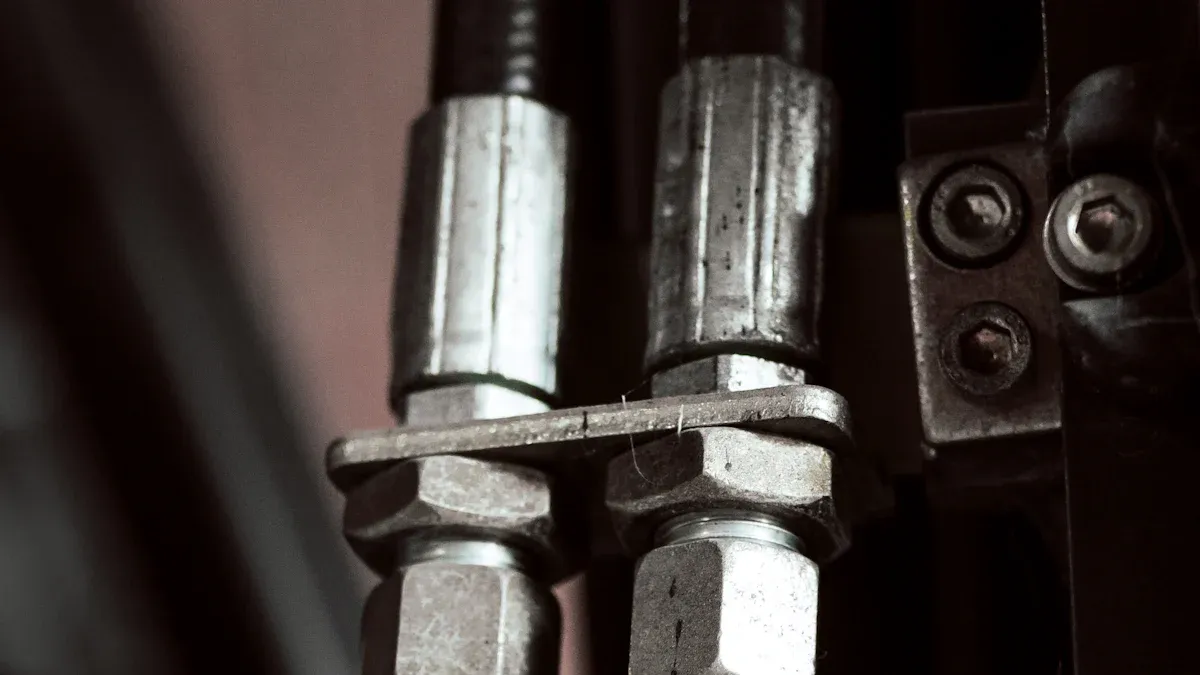
Attach the Fitting Securely
Attaching the fitting securely is the final step in this phase of assembly. Installers should lubricate the fitting and hose end with a suitable hose lubricant to facilitate smooth insertion. The fitting must be pushed into the hose until the insertion mark aligns with the fitting’s edge.
Once the fitting is in place, it is crucial to verify its position. The paint mark on the hose should remain visible and unmoved. This step ensures that the fitting has not shifted during the process. Afterward, the hose assembly should be capped on both ends using clean seal caps to maintain cleanliness and prevent contamination.
Tip: Always double-check the crimp diameter after attaching the fitting. This ensures the connection meets the required specifications and enhances the reliability of the hydraulic system.
Crimping Hydraulic Hose Fittings
Set Up the Crimping Machine
Properly setting up the crimping machine is a critical step in ensuring secure and reliable hydraulic connections. Installers must begin by selecting a crimping machine that matches the system’s requirements. Machines with adjustable settings offer greater flexibility, allowing users to handle various hose sizes and fittings. Before operation, the machine should be inspected for cleanliness and functionality. Any debris or residue in the crimping area can compromise the quality of the connection.
Operators should calibrate the machine according to the manufacturer’s specifications. This ensures that the crimping force is neither too high nor too low, which could damage the hose or result in a weak connection. A well-calibrated machine not only enhances safety but also improves efficiency and reduces downtime.
| Benefit | Description |
|---|---|
| Enhanced Safety | Proper crimping ensures secure, leak-proof connections, reducing the risk of accidents. |
| Increased Efficiency | Automated crimping speeds up assembly and ensures consistent quality, minimizing human error. |
| Cost-Effective | Prevents leaks and failures, saving on maintenance and extending equipment lifespan. |
| Versatility | Can handle various hose sizes and fittings, with customizable settings for different applications. |
| Improved Productivity | Reduces downtime and increases the number of hoses crimped per day, maximizing output. |
Tip: Always refer to the machine’s user manual for specific setup instructions to avoid errors during operation.
Choose the Correct Die
Selecting the correct die is essential for achieving a precise and secure crimp. Dies must match the hose size and pressure rating to ensure compatibility. Using an incorrect die can lead to improper crimping, which may cause leaks or system failures under pressure.
Several international standards govern die selection, providing guidelines for different hydraulic applications:
- SAE (Society of Automotive Engineers)
- EN (European Norm)
- DIN (Deutsches Institut für Normung)
- ISO (International Organization for Standardization)
These standards ensure that the selected die meets the required specifications for safety and performance. Installers should verify the die’s compatibility with both the hose and fitting before proceeding.
| Standard | Description |
|---|---|
| SAE | Society of Automotive Engineers standards for hydraulic hoses. |
| EN | European Norm standards applicable in Europe. |
| DIN | Deutsches Institut für Normung standards for hose specifications. |
| ISO | International Organization for Standardization standards for global compliance. |
Note: Always double-check the die’s size markings and ensure it aligns with the crimping machine’s settings.
Crimp and Verify the Connection
The crimping process involves securing the fitting to the hose using the selected die and crimping machine. Operators should position the hose and fitting within the die, ensuring proper alignment. Misalignment can result in uneven crimping, which compromises the connection’s integrity.
Once the components are in place, the machine should be activated to apply the required crimping force. After completing the crimp, the connection must be inspected to verify its quality. Visual inspection helps identify any visible defects, such as uneven crimps or damaged fittings. Dimensional measurements ensure that the crimp diameter meets the manufacturer’s specifications.
Testing protocols further validate the connection’s performance and safety. Common methods include:
- Visual inspection
- Dimensional measurement
- Pressure testing
- Tension testing
| Testing Method | Equipment Used | Description |
|---|---|---|
| Pull Test | LTCM Test Stand with DFS II Force Gauge | Assures constant speed during the test for accurate results. |
| Non-Motorized Test | MT Test Stand with DFS II Force Gauge | A cost-effective solution for testing without constant speed. |
| Force Gauge | DFS II Force Gauge | High-precision gauge for crimped wire testing with various features. |
| Wire Grip | ML1785 Wire Grip with Eye Crimp | Ideal for testing wire terminals and connectors. |
| Terminal Testing Fixture | TP-10 Terminal Testing Fixture | Designed to test the ultimate strength of wire connectors. |
| Crimp Pull Test | Various setups | Tests the strength of crimped wire assemblies through tensile tests. |
Reminder: Always perform pressure testing to confirm that the crimped connection can withstand the system’s maximum operating pressure.
Installing and Testing Hydraulic Hose Fittings

Route the Hose Properly
Proper hose routing is essential to ensure the longevity and performance of hydraulic systems. Installers should avoid sharp bends, kinks, and contact with abrasive or hot surfaces. These issues can weaken the hose and lead to premature failure. Research highlights that even a slight twist of 7° in a hydraulic hose can reduce its service life by up to 80%. To prevent this, hoses must be routed without twisting and should maintain the manufacturer’s recommended minimum bend radius.
Tip: Allow for gentle bends and provide enough slack to accommodate pressure changes without pulling the hose from its fittings.
Additionally, hoses should be routed away from moving parts to prevent wear caused by friction. Using clamps to secure hoses in place minimizes excessive movement and reduces the risk of damage. This practice also ensures that the hoses remain properly aligned during operation, enhancing system reliability.
Secure the Hose with Clamps
Clamps play a critical role in maintaining the stability of hydraulic hoses. They prevent excessive movement, which can lead to wear and tear over time. Installers should select clamps that match the hose diameter and material to ensure a secure fit. Proper placement of clamps is equally important. They should be positioned at regular intervals along the hose to provide uniform support.
When securing hoses, overtightening clamps must be avoided. Excessive pressure can damage the hose and compromise its structural integrity. Instead, clamps should be tightened just enough to hold the hose firmly without causing deformation. This approach not only extends the hose’s lifespan but also reduces the likelihood of leaks.
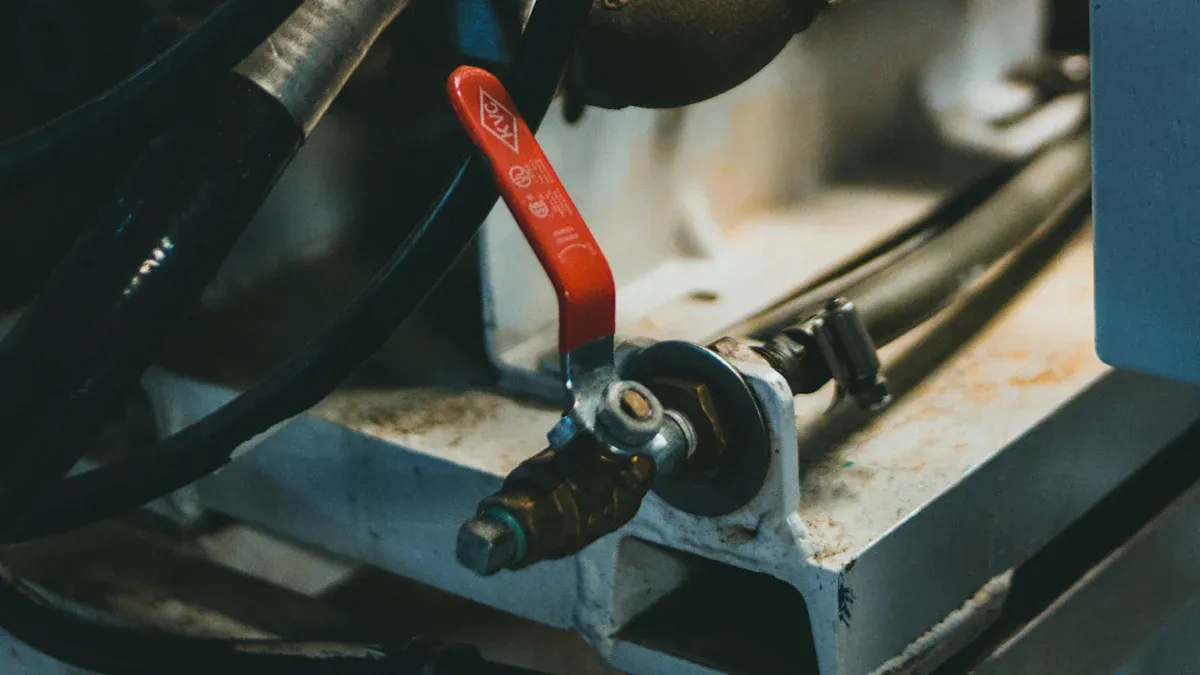
Test for Leaks and Performance
Testing is the final step in ensuring a reliable hydraulic connection. Installers should conduct a thorough inspection to identify any visible leaks or defects. Pressure testing is particularly effective for verifying the integrity of the system. This involves subjecting the hydraulic assembly to its maximum operating pressure and monitoring for any signs of leakage.
Statistical findings reveal that leaks account for significant operational inefficiencies. For example, the average U.S. plant uses four times more hydraulic oil than its machines can hold, resulting in an estimated $250 million in annual costs for replacing lost fluids. By addressing leaks early, facilities can improve their Overall Equipment Effectiveness (OEE) and reduce downtime.
Reminder: Contaminated lubricants, often caused by leaks, are responsible for 80% of machine stoppages. Regular testing and maintenance can mitigate these risks and enhance system performance.
Maintenance Tips for Hydraulic Hose Fittings
Regularly Inspect Hoses and Fittings
Routine inspections are essential for maintaining the integrity of hydraulic systems. High-demand systems or those operating under extreme conditions require weekly checks, while moderate-use systems benefit from monthly inspections. Low-pressure or lightly used hoses can be inspected quarterly.
| Inspection Interval | Conditions |
|---|---|
| Weekly | High-demand systems or severe conditions (e.g., high pressure, extreme temperatures). |
| Monthly | Standard for most hydraulic hoses in moderate use scenarios. |
| Quarterly | Recommended for low-pressure or lightly used hoses. |
Visual inspections should focus on identifying wear, leaks, or damage. Combining these checks with sensor data enhances the accuracy of health assessments. Predictive maintenance strategies, such as monitoring temperature and flow rates, further extend the lifespan of hydraulic hose fittings. Operators should also maintain detailed records of inspections to track wear patterns and schedule timely repairs.
Replace Damaged Components
Replacing damaged hydraulic components promptly prevents system failures. Regular visual inspections help identify issues such as cracked hose covers, corroded fittings, or leaks. Observable performance problems, including reduced machinery output or unusual noises, also signal the need for replacement.
- Signs indicating replacement necessity:
- Damaged, cracked, or cut hose covers.
- Corroded fittings or leaks at connections.
- Kinked or twisted hoses.
Following manufacturer guidelines ensures proper replacement intervals and compatibility with system specifications. Adhering to these practices minimizes downtime and enhances system reliability.
Store Spare Parts Correctly
Proper storage of spare hydraulic components ensures their longevity and functionality. Components should be kept clean, dry, and cool to prevent damage. An organized inventory system streamlines identification and prioritization of parts. Utilizing a Computerized Maintenance Management System (CMMS) automates updates and improves record-keeping efficiency.
- Best practices for storage:
- Maintain a clean, dry, and cool environment.
- Use the EOQ (Economic Order Quantity) formula to optimize part orders.
- Train staff on inventory management to reduce errors.
By following these guidelines, facilities can ensure that spare parts remain in optimal condition, ready for use when needed.
Proper installation and maintenance of hydraulic hose fittings, or hydraulic hose connectors, ensure safety, efficiency, and reliability. Following these steps minimizes downtime and extends equipment lifespan. For example, a mining operation tripled hose life by redesigning layouts, while a construction company improved uptime by 27% through preventive maintenance.
| Case Study Description | Result | Benefit |
|---|---|---|
| Mining operation redesigned hose layout and added abrasion sleeves | Hose life tripled | Reduced downtime and repair costs |
| Construction company implemented smart monitoring and preventive maintenance | Average hose lifespan increased from 18 to over 36 months | Improved operational uptime by 27% |
Tip: Consistent adherence to these practices protects both equipment and personnel, ensuring long-term system performance.
FAQ
What is the recommended frequency for inspecting hydraulic hoses?
Inspect high-demand systems weekly, moderate-use systems monthly, and low-pressure systems quarterly. Regular checks prevent failures and extend hose lifespan.
Can hydraulic hoses be reused after removing fittings?
Reusing hydraulic hoses is not recommended. Removal often damages the hose, compromising its integrity and safety. Always replace hoses when changing fittings.
How can you identify the correct fitting size for a hydraulic hose?
Use calipers to measure the hose’s inner diameter and thread gauge for fitting threads. Match these measurements with manufacturer specifications for accurate sizing.
Tip: Always consult the S.T.A.M.P.E.D. method for selecting hoses and fittings to ensure compatibility and safety.
Post time: May-29-2025